In Part One, we walked through our initial steps — including everything we do and need before the true logo design can begin.
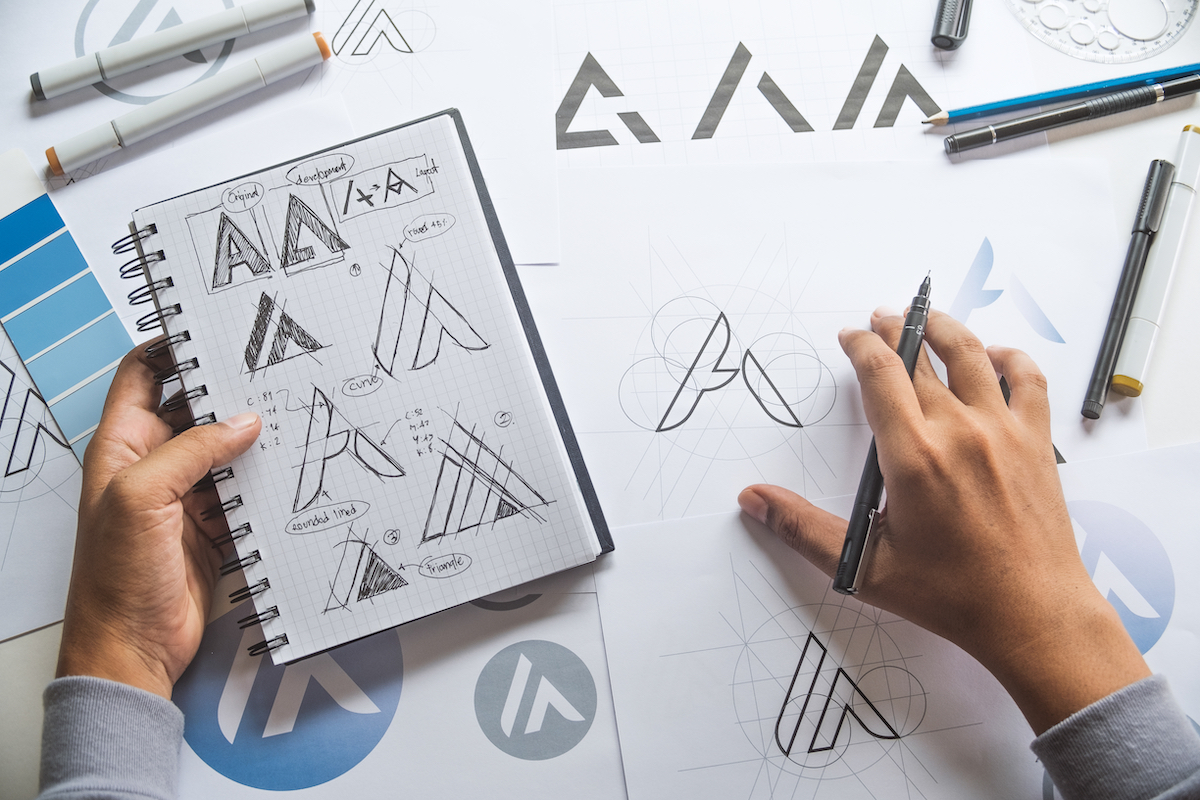
In Part Two, we dove into the steps beyond the prep; the creative process.
In Part Three, we review the branding process and the final files that a client can expect after completing this creative process!
Expansion to Brand Collateral
After the final logo is signed off on, we can then work on expanding to the brand collateral. This includes everything from letterheads, business cards, social media elements, and everything in between. Most clients will need branded social media profile images, banners, and headers but not every client will need branded collateral such as signage, vehicle wraps, or uniforms. This step of the process is always specific to the client’s needs.
Create Brand Guidelines Document
Brand Guides are simply the ‘rules’ of how a brand is to be presented to the world. They can be passed along to a web developer who can see the exact color values that need to be used on the website and what fonts need to be utilized for the content. These guidelines can be sent to a printer to ensure maximum accuracy.
Final Files, Delivery, and Support
Everything is created in Adobe Illustrator in vector form and can be exported any format that is required. The standard files normally consist of .Ai for future editing, if desired, .eps/.pdf for printing, .jpeg for viewing, and .PNG with a transparent background for web use.
The vector format allows the maximum range of output because you can scale the size without any loss of quality or sharpness. This means that the same logo design that looks great on a business card will look just as great on a billboard.
The final files for a project will be neatly arranged and appropriately labeled so that it’s where they are to be used. All the appropriate formats and layouts are included, along with monotone black and white versions for varied backgrounds. If there are any ‘layout’ designs, such as a brochure or marketing flyers, files will be packaged in Adobe InDesign to include the images and fonts used, wherever applicable. Everything is zipped up and emailed to the client, CC’ing any additional employees that may need access to the original files.
In order to ensure that the client understands how to use the designs, we make ourselves available to provide any immediate assistance and we’re happy to answer questions at any point in the future.
Final Notes on Our Logo Design Process
As mentioned in Part One, each client and project is different, therefore, not every project will pass through every step. For example, some clients may have already completed market research themselves, which can be passed along to us and we can then proceed to the next stage with the work already done.
Hopefully, this has given you a bit of insight into how certain things are done here at AEDC. If you have any questions about our professional design process, get in touch with us!